
I planted roselle hibiscus (hibiscus sabdariffa) for the first time this year. And I was super excited about it.
But I didn't do enough research about how it grows ... specifically that the stalks and branches are obnoxiously heavy and have a propensity to want to topple down to the ground.
Clearly creating a "cute little hibiscus garden" behind my Adirondack chairs was a fail. But my roselle harvest was not!
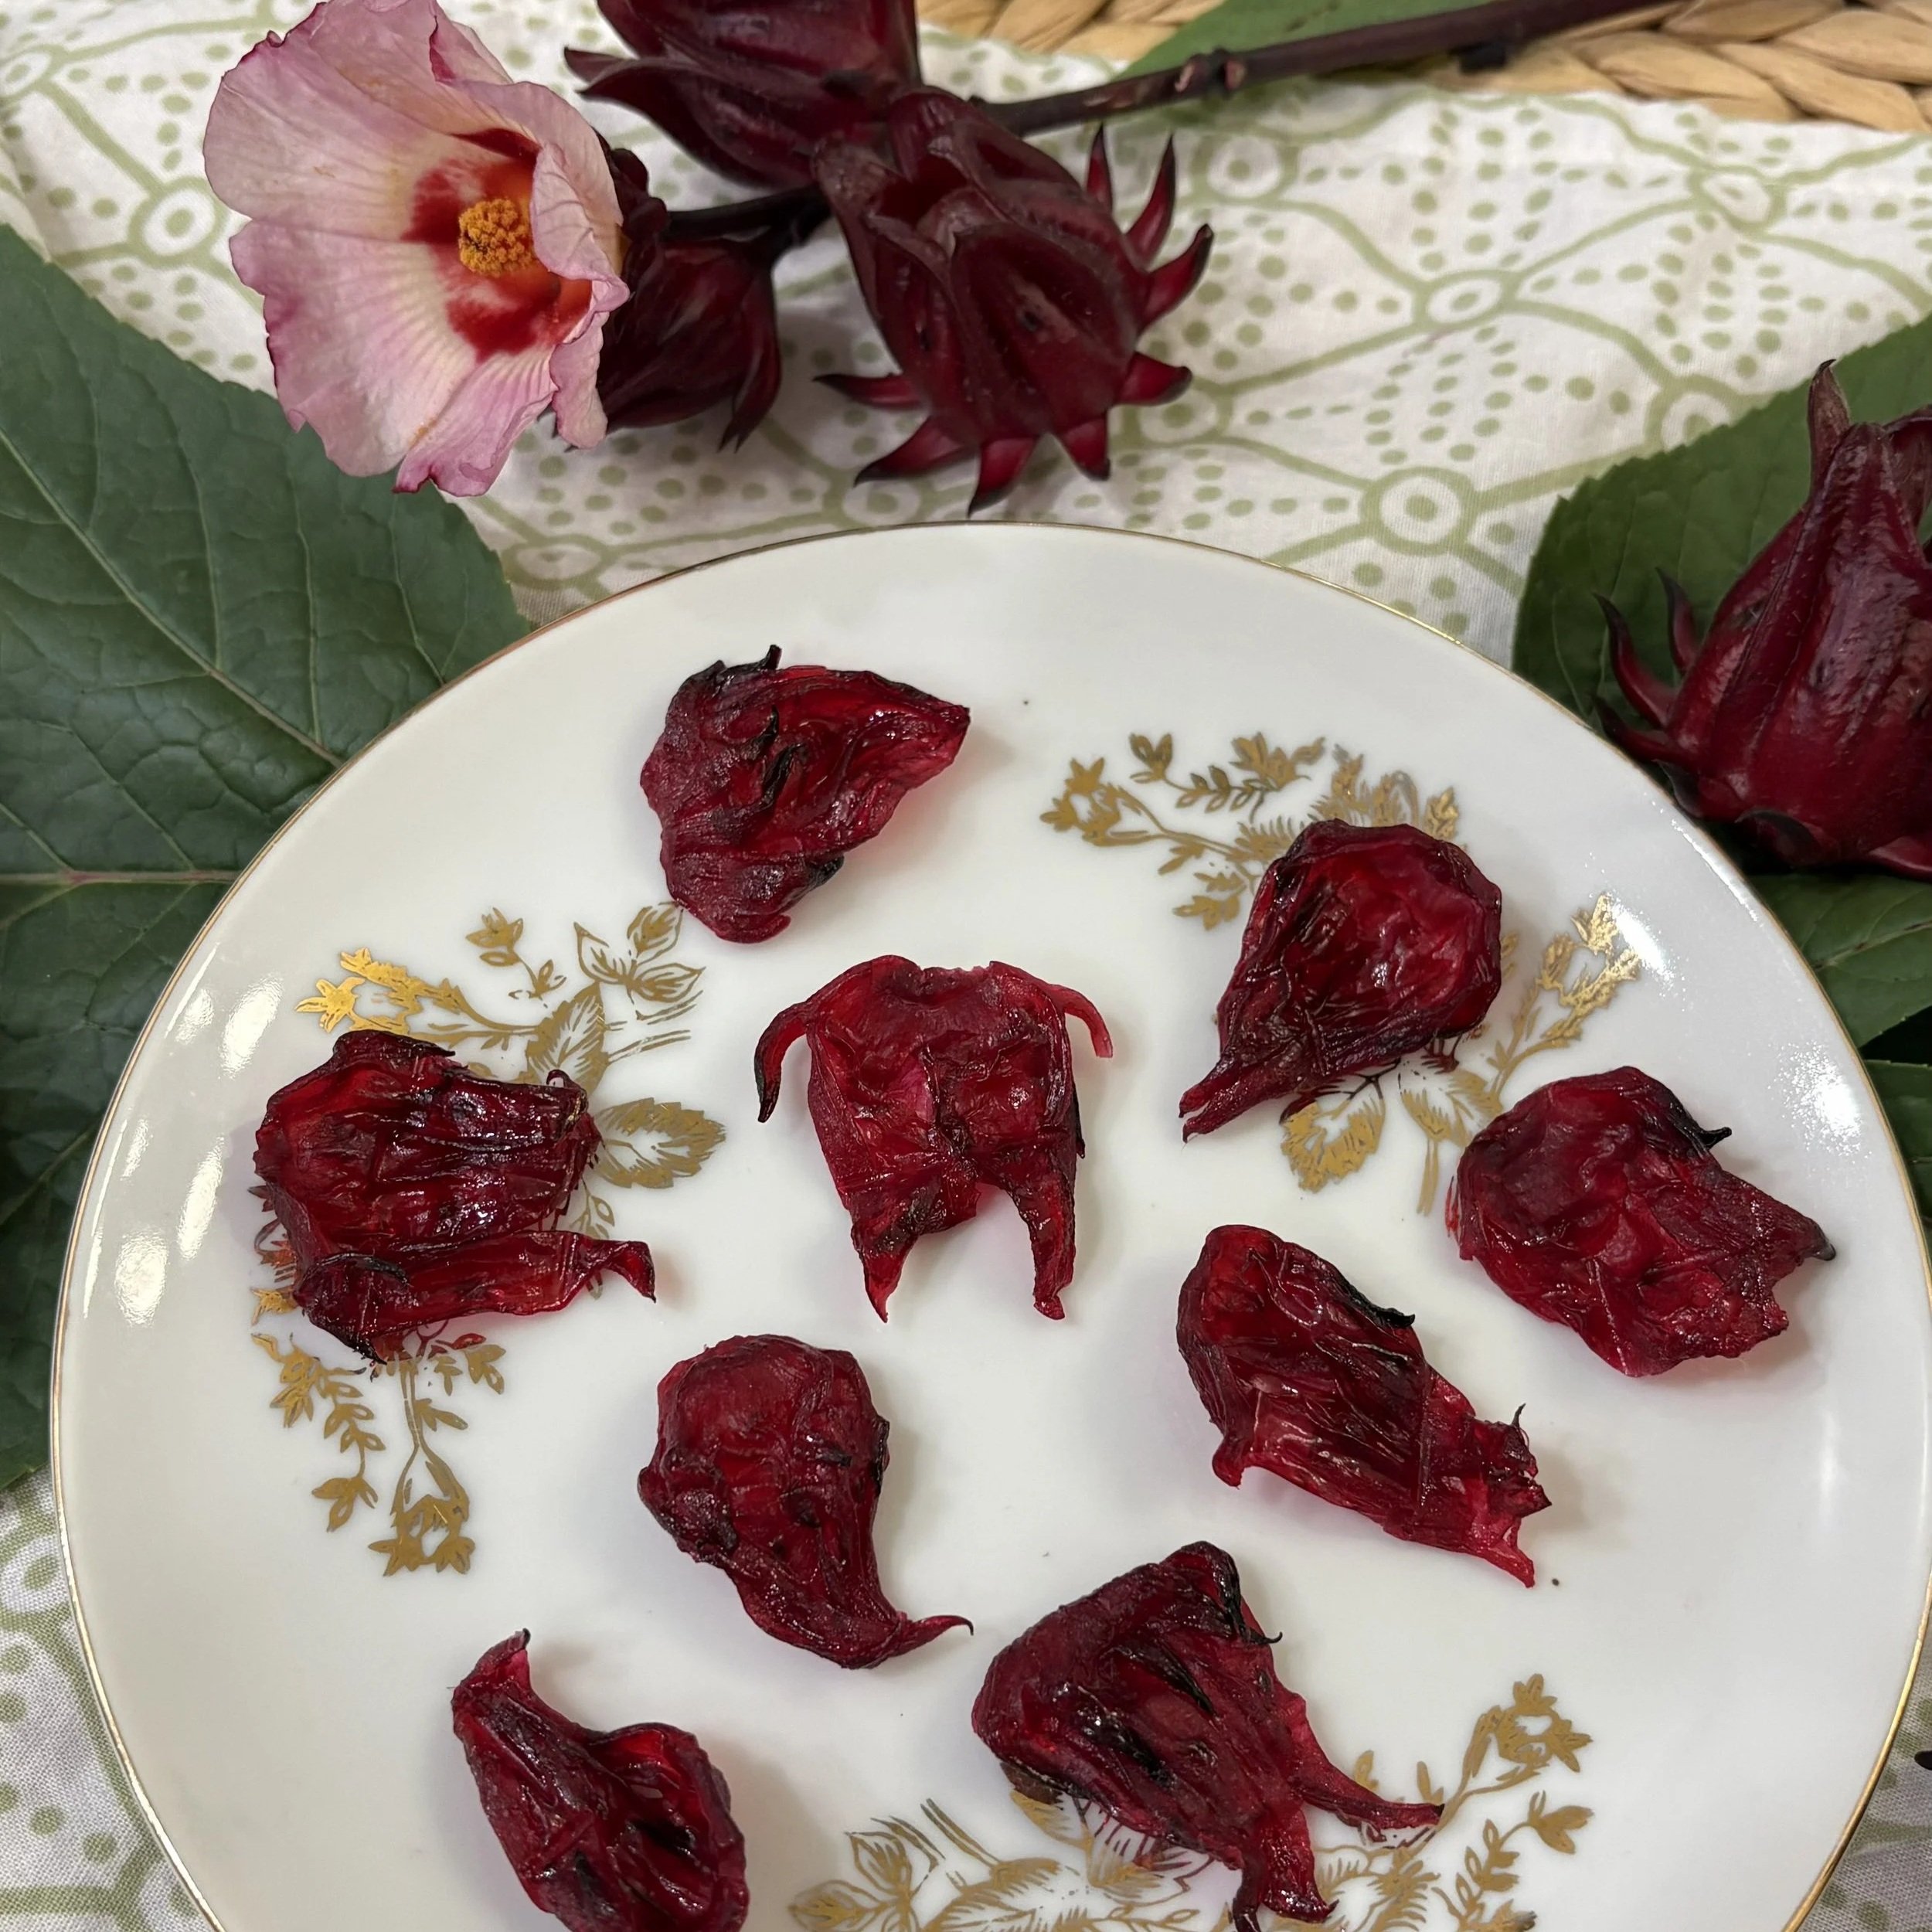
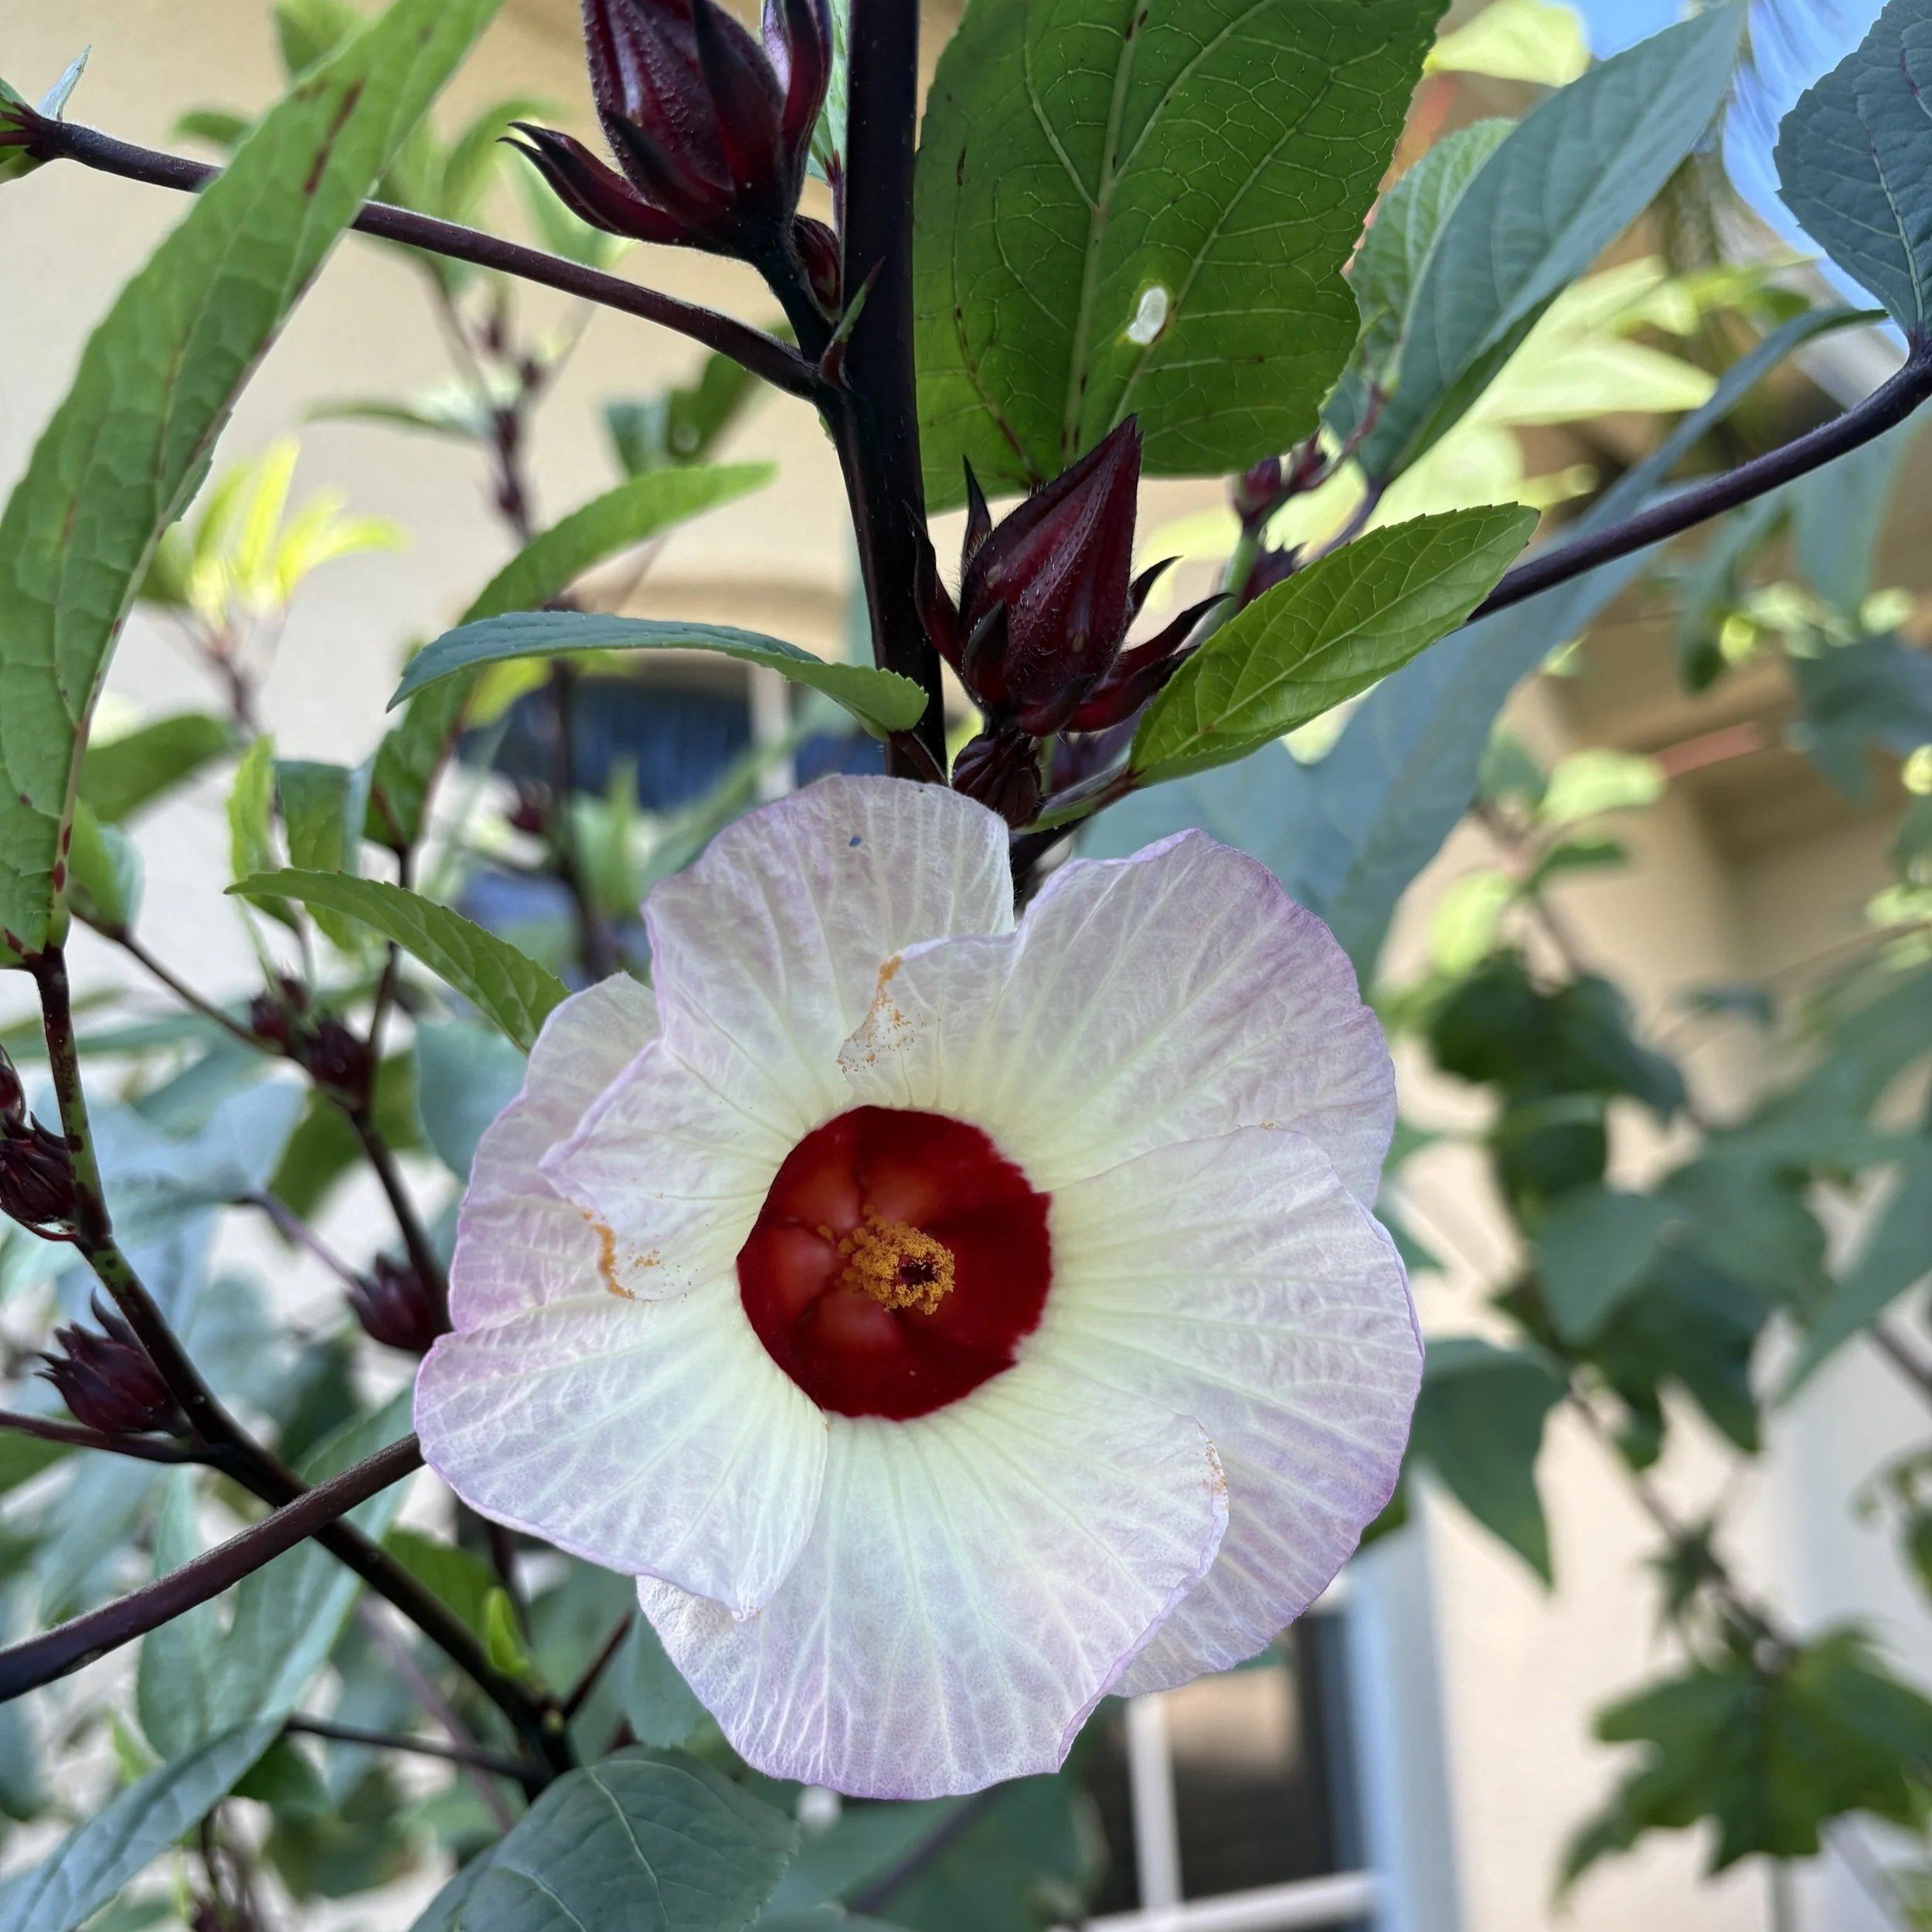
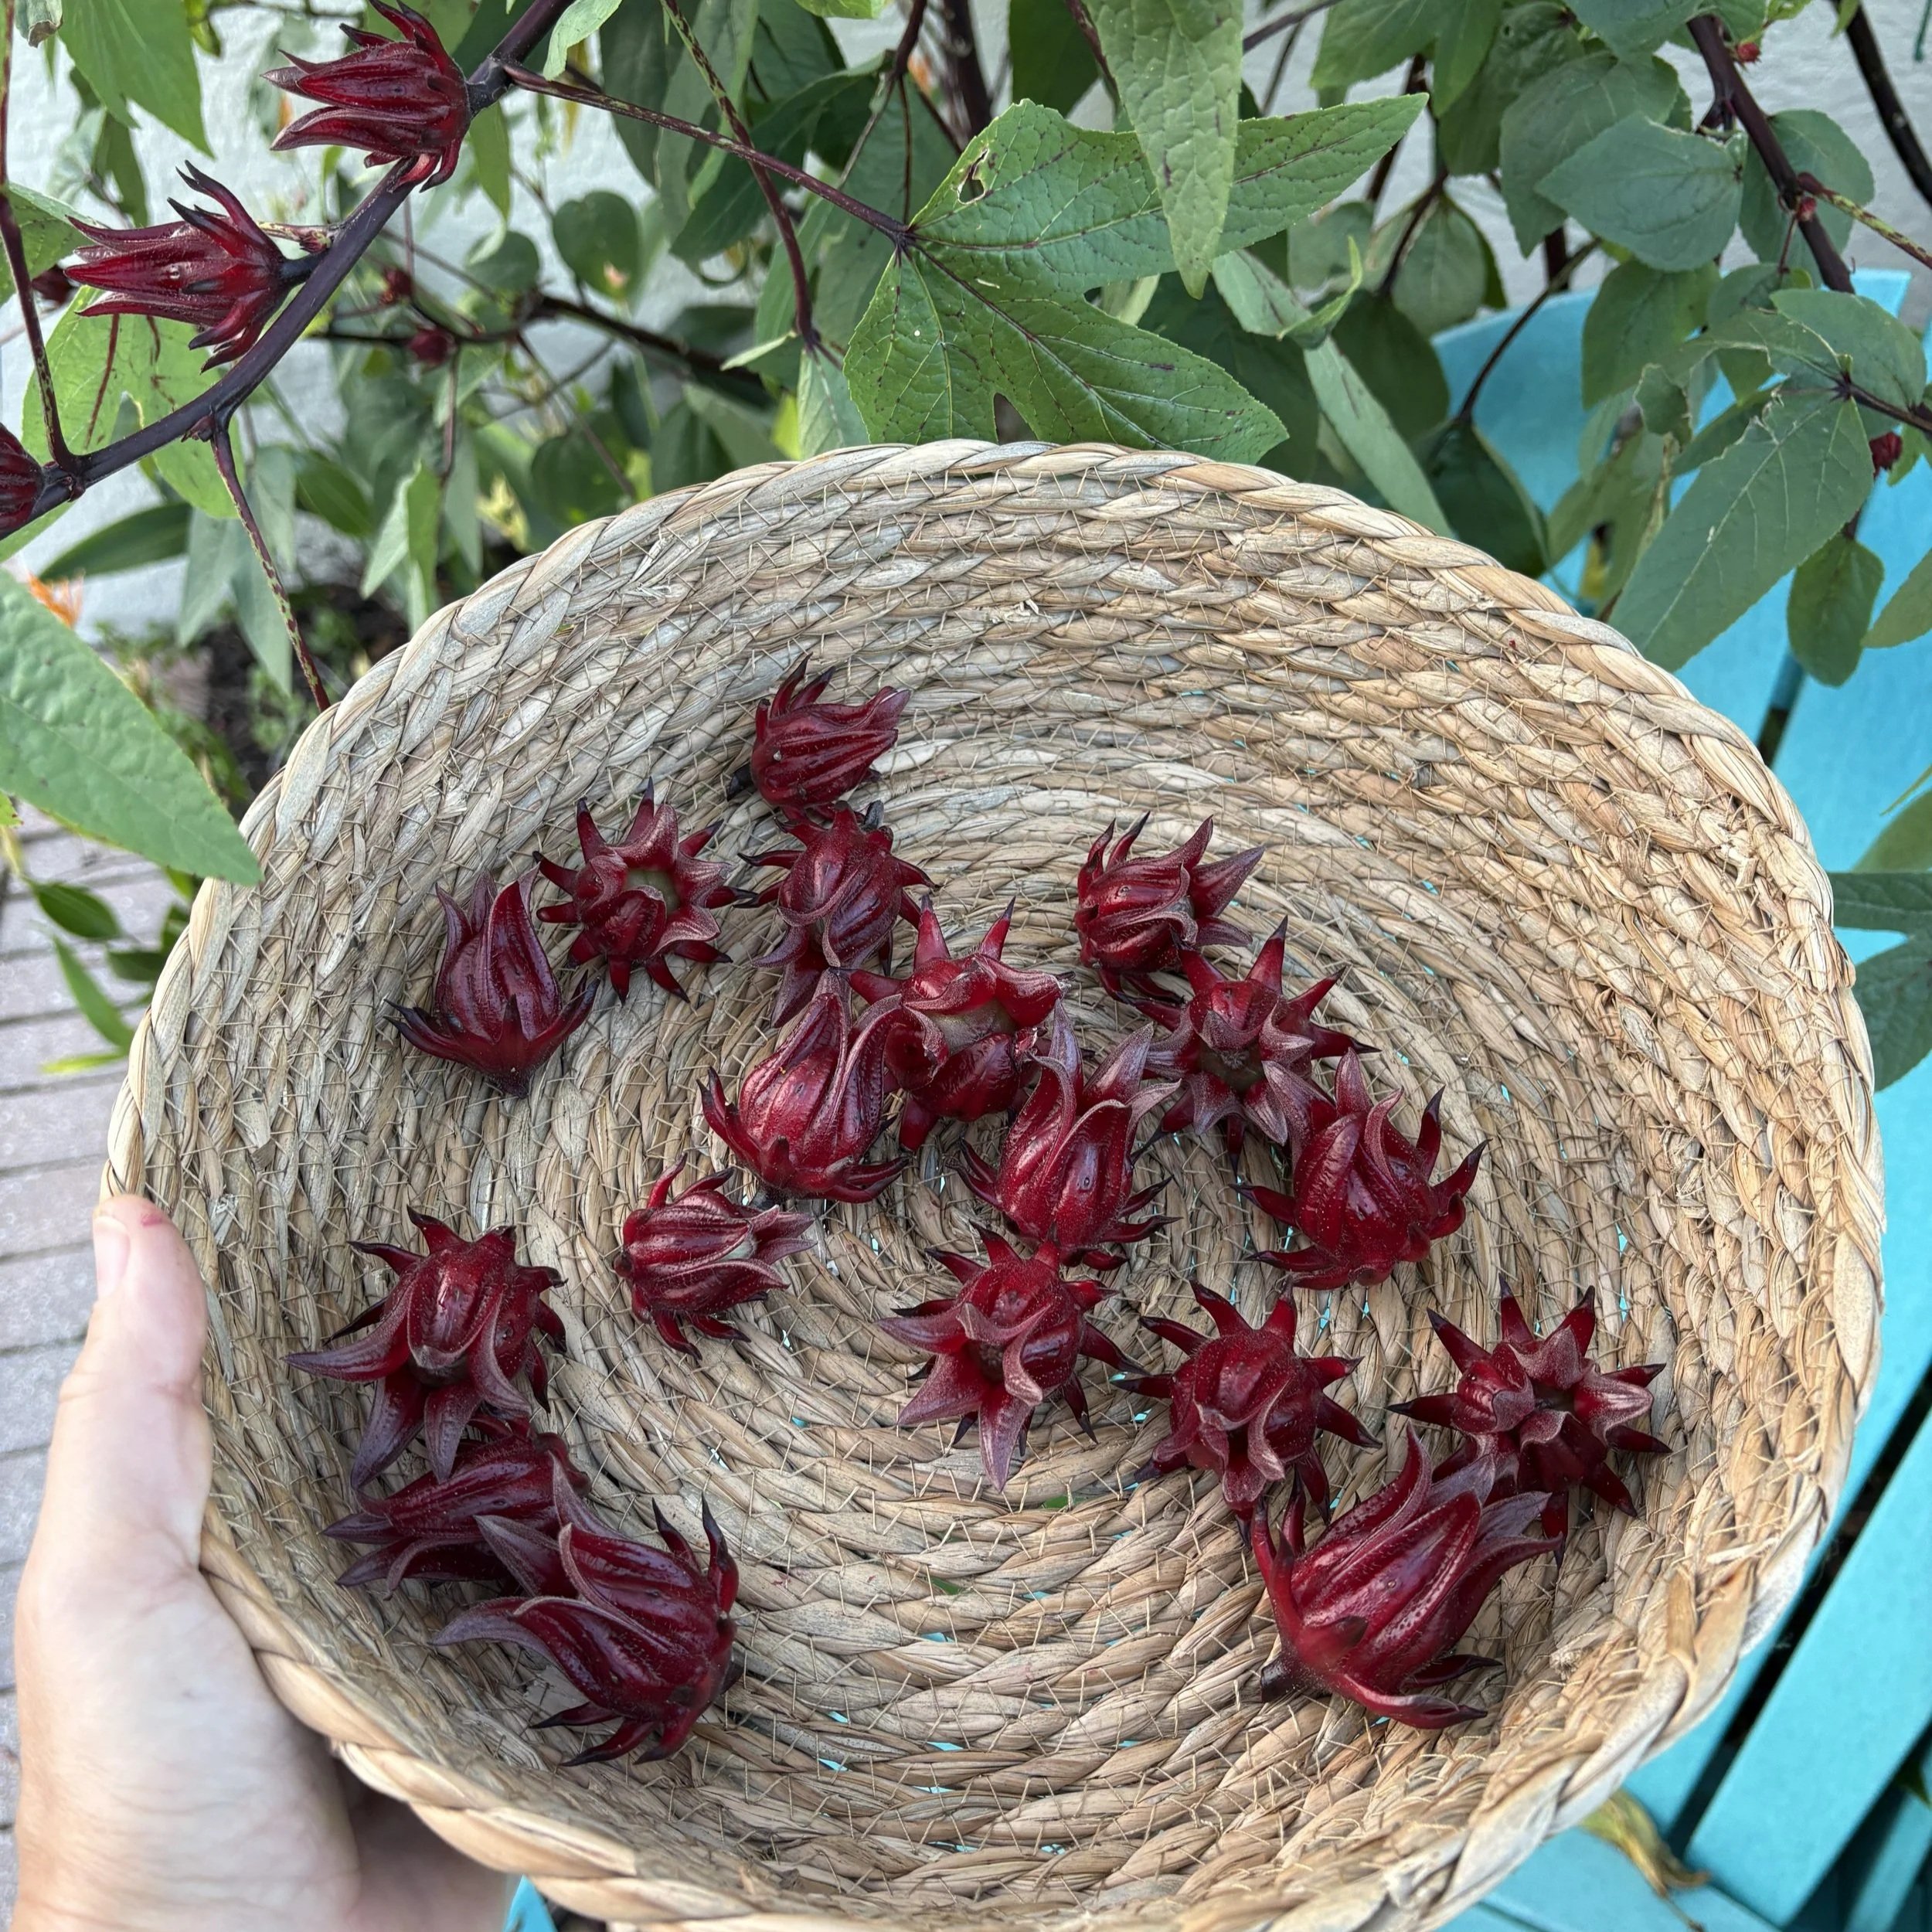
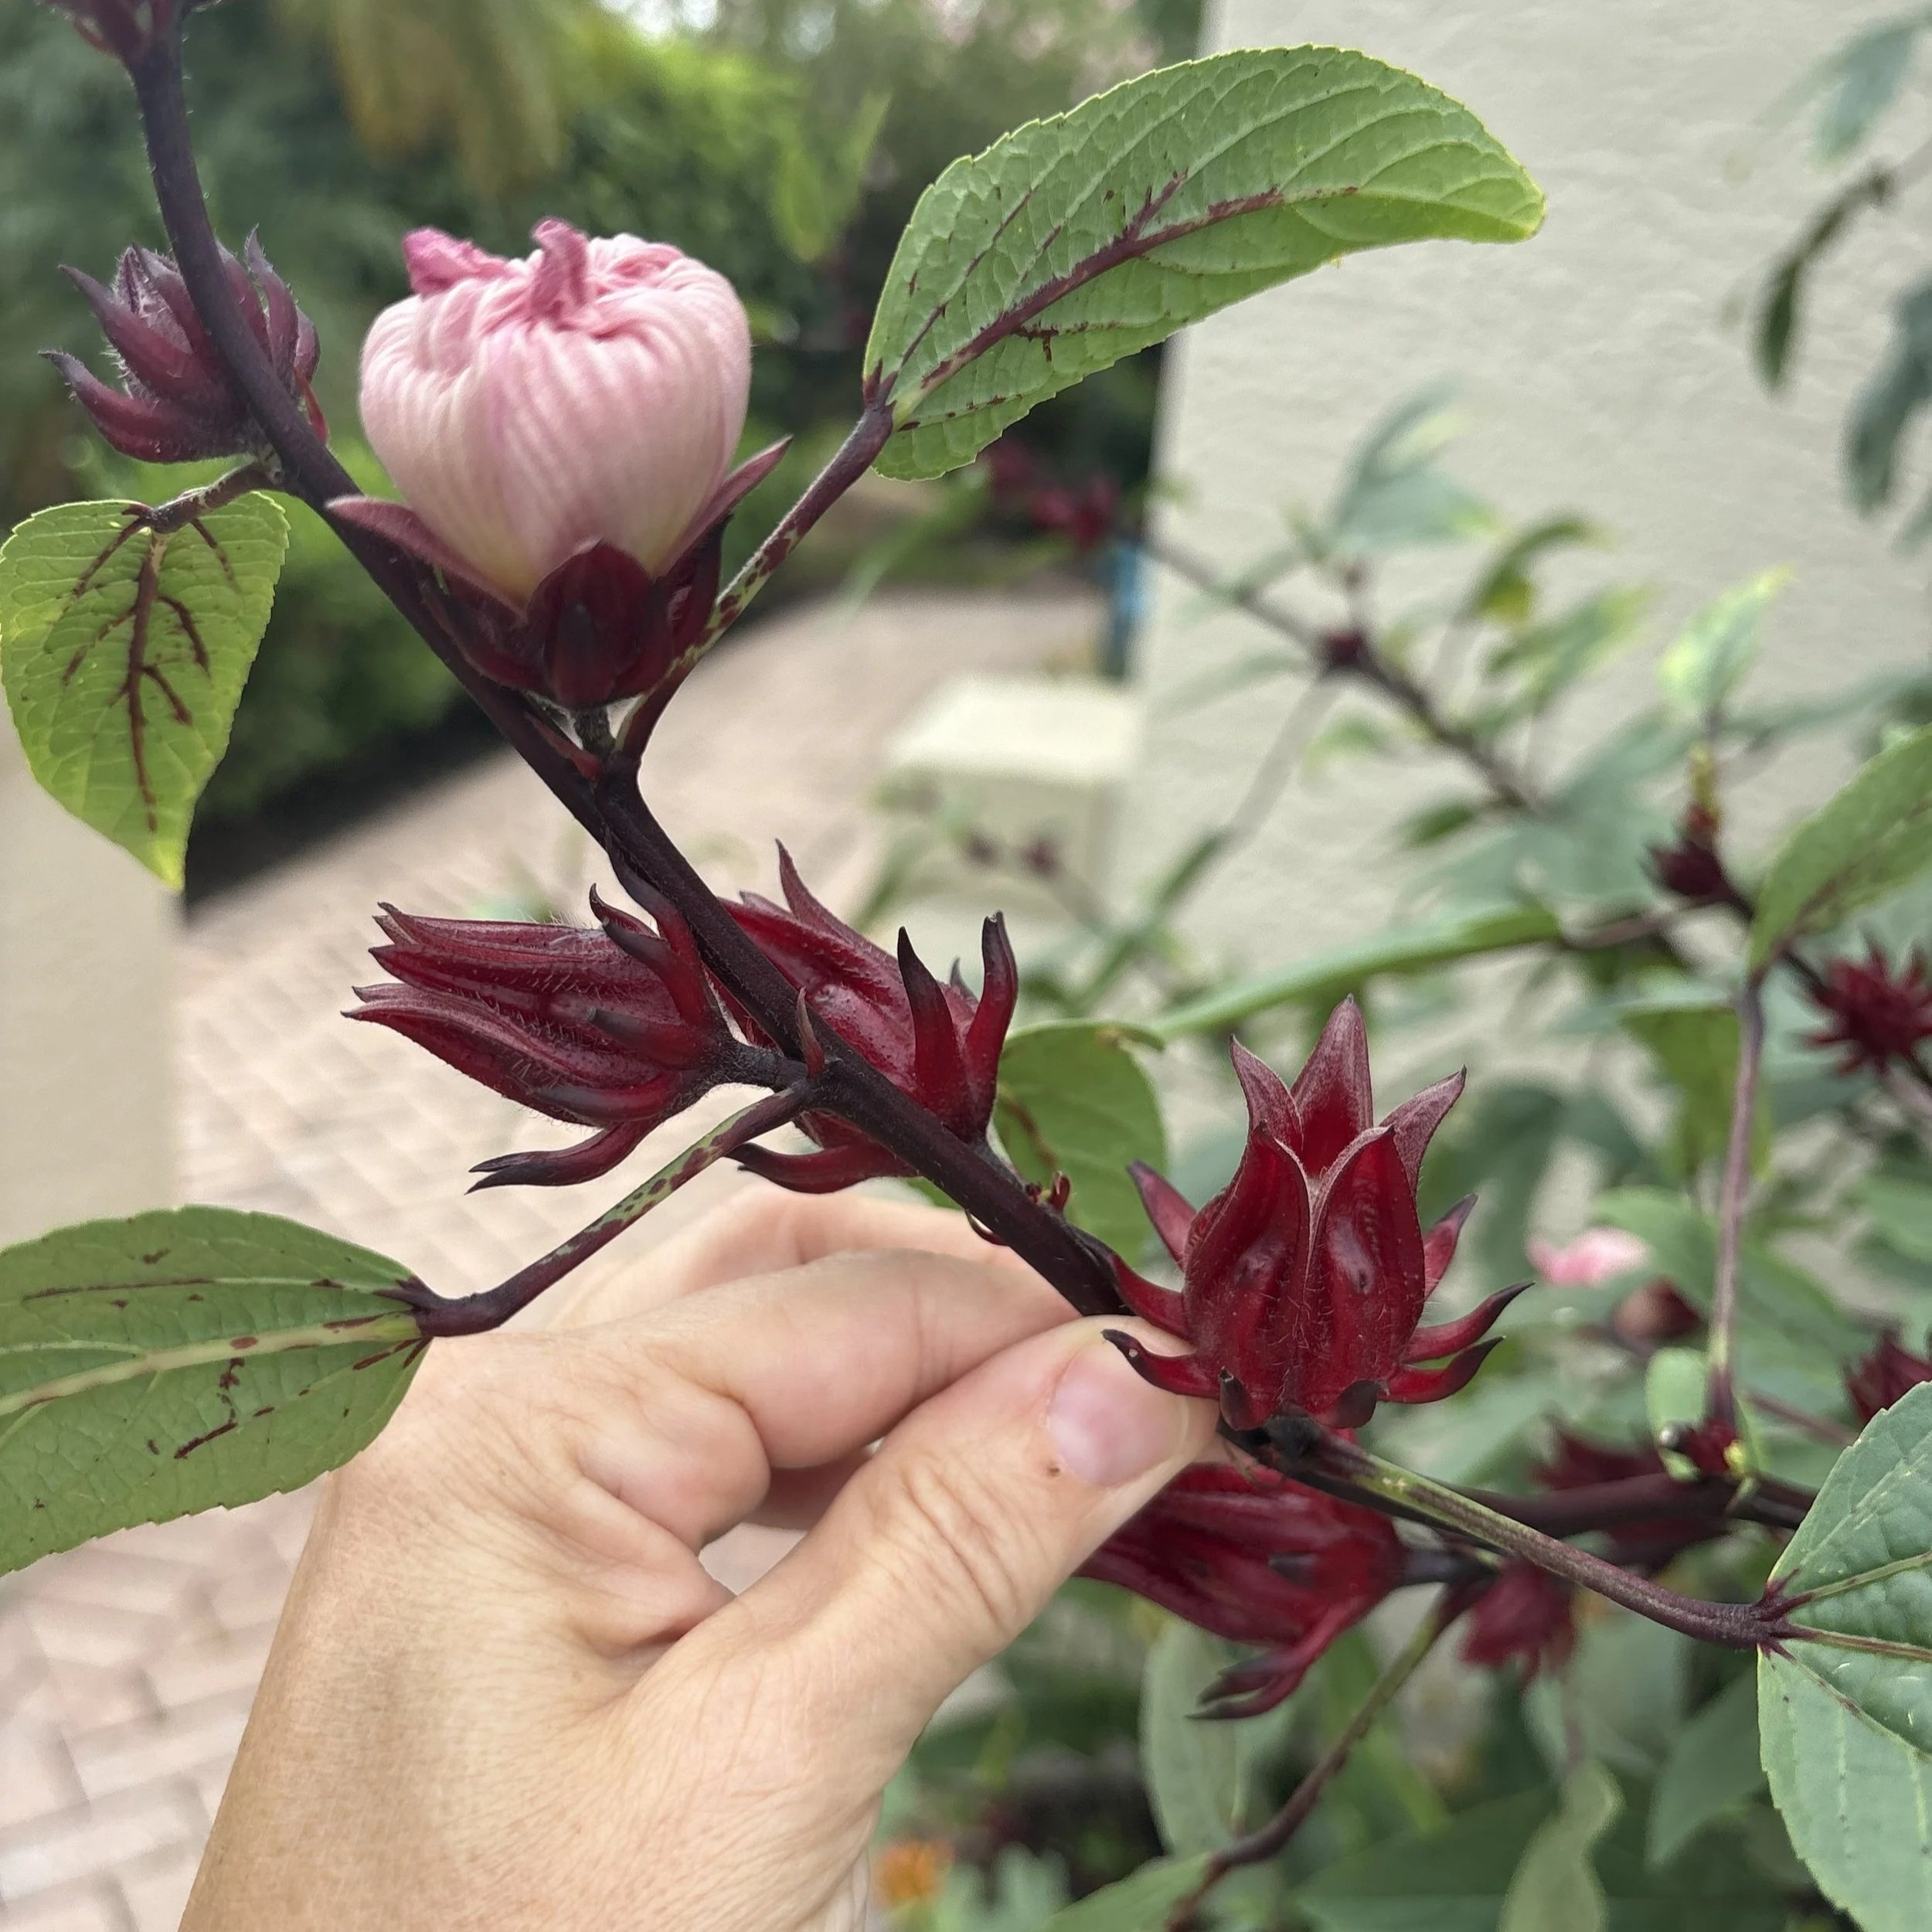
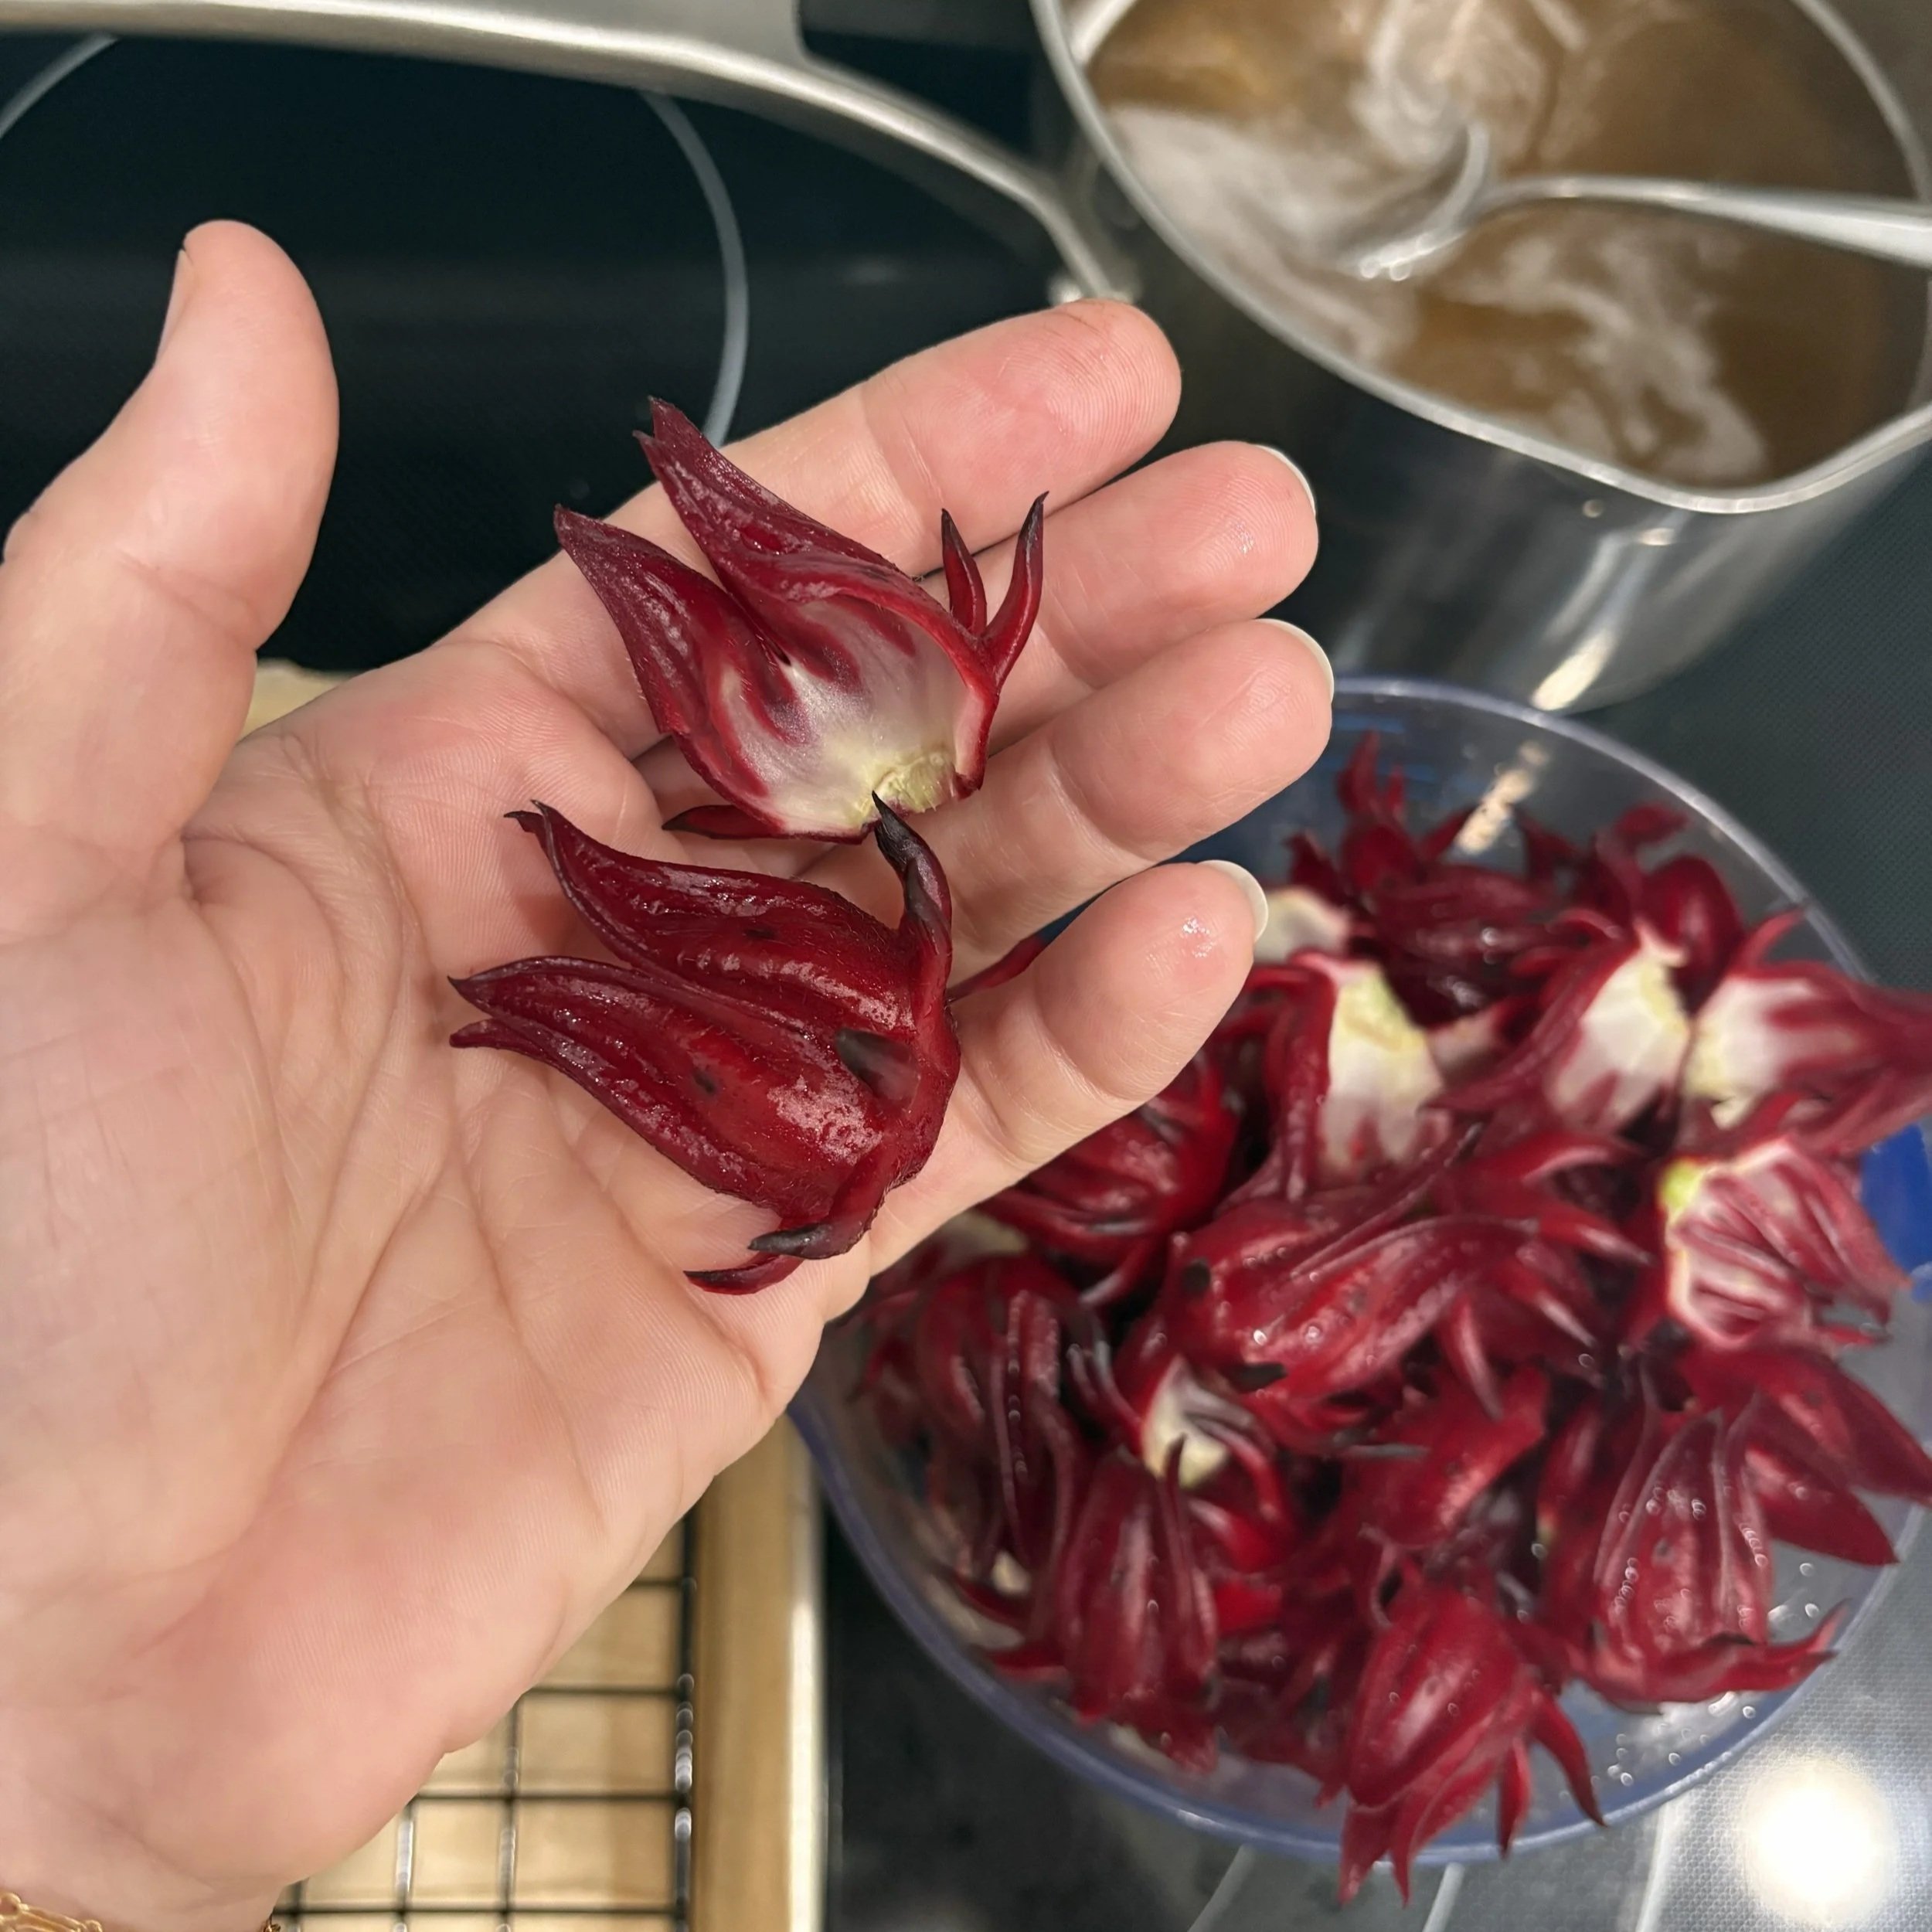
I have loved learning about the life cycle of this beautiful plant as I watch it grow (and take over my Adirondack chairs). Roselle hibisucs is different than your garden-variety hibiscus flowers. The delicate pink flowers emerge from vibrant red calyxes (the fleshy structures at the base of the flower) and last for exactly one day before falling off. The calyxes then continue to grow and swell around the remaining seed pod. When they've reached the right size and "juiciness" (as several websites have described it), they are ready to harvest. After harvesting, you remove the seed pods (which are a natural source of pectin, so some people save them for jam making) and are left with the firm, fleshy calyx. These ruby-red "crowns" can be dried for tea, simmered into jams and syrups, or added to chutnies or relishes.
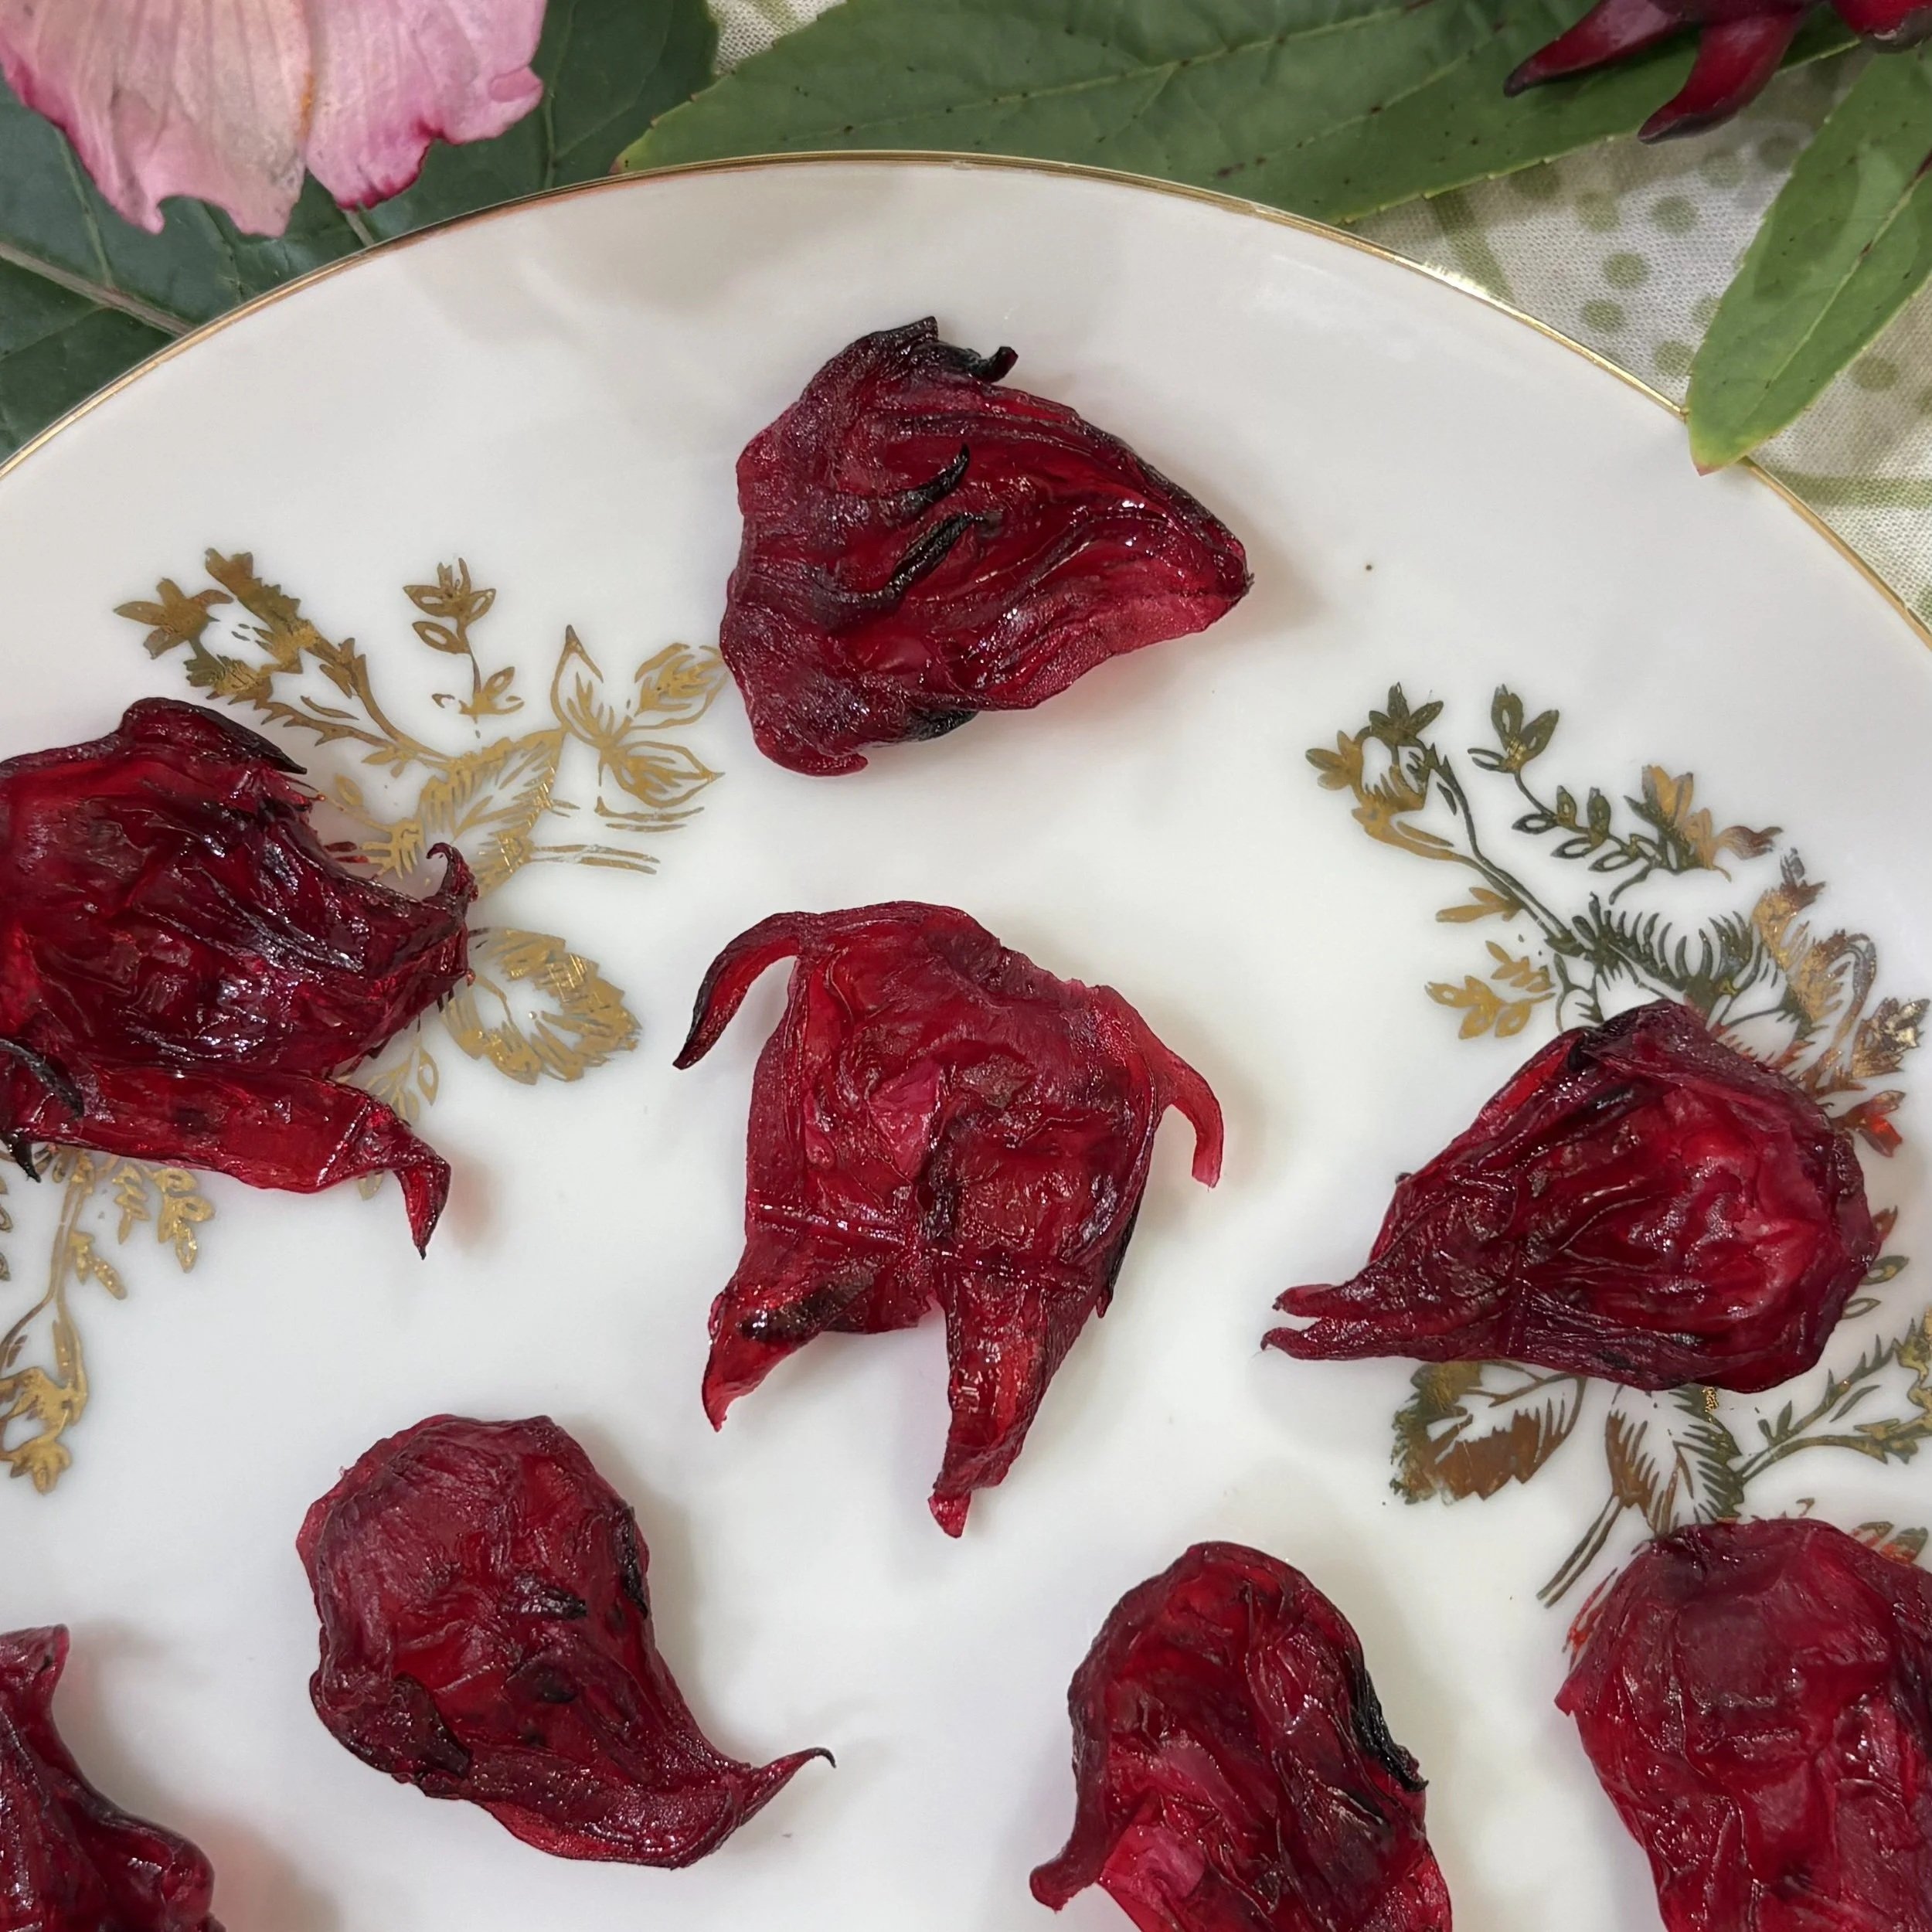
While I orginally started growing roselle hibicus with the intention of drying it and using it as tea, I have also been enjoying getting creative with it in the kitchen. I watched a video recently of a woman picking a fresh calyx, eating a piece of it on camera, smiling and calling it "nature's candy." I think that's a stretch, as the bright but tart flavor is a cross between cranberry and rhubarb. But, when poached in a simple syrup and then dried, they become a delicious sweet-tart treat that is undeniabley addictive. I've seen several versions of candied roselle on the internet, but as usual, I decided to go rogue and did things a little differently.
Here's what I did, but feel free to improvise and make the recipe your own!
CANDIED ROSELLE RECIPE
INGREDIENTS
4 cups fresh roselle calyxes
2 cups water
2 cups granulated sugar
A small amount of neutral oil, such as avocado oil
INSTRUCTIONS
Prep the roselle. Split the fresh calyxes in half, remove the seed pods, and rinse the calyx halves thoroughly.
Make the simple syrup. Combine the water and sugar in a saucepan and bring to a gentle simmer, stirring until the sugar dissolves.
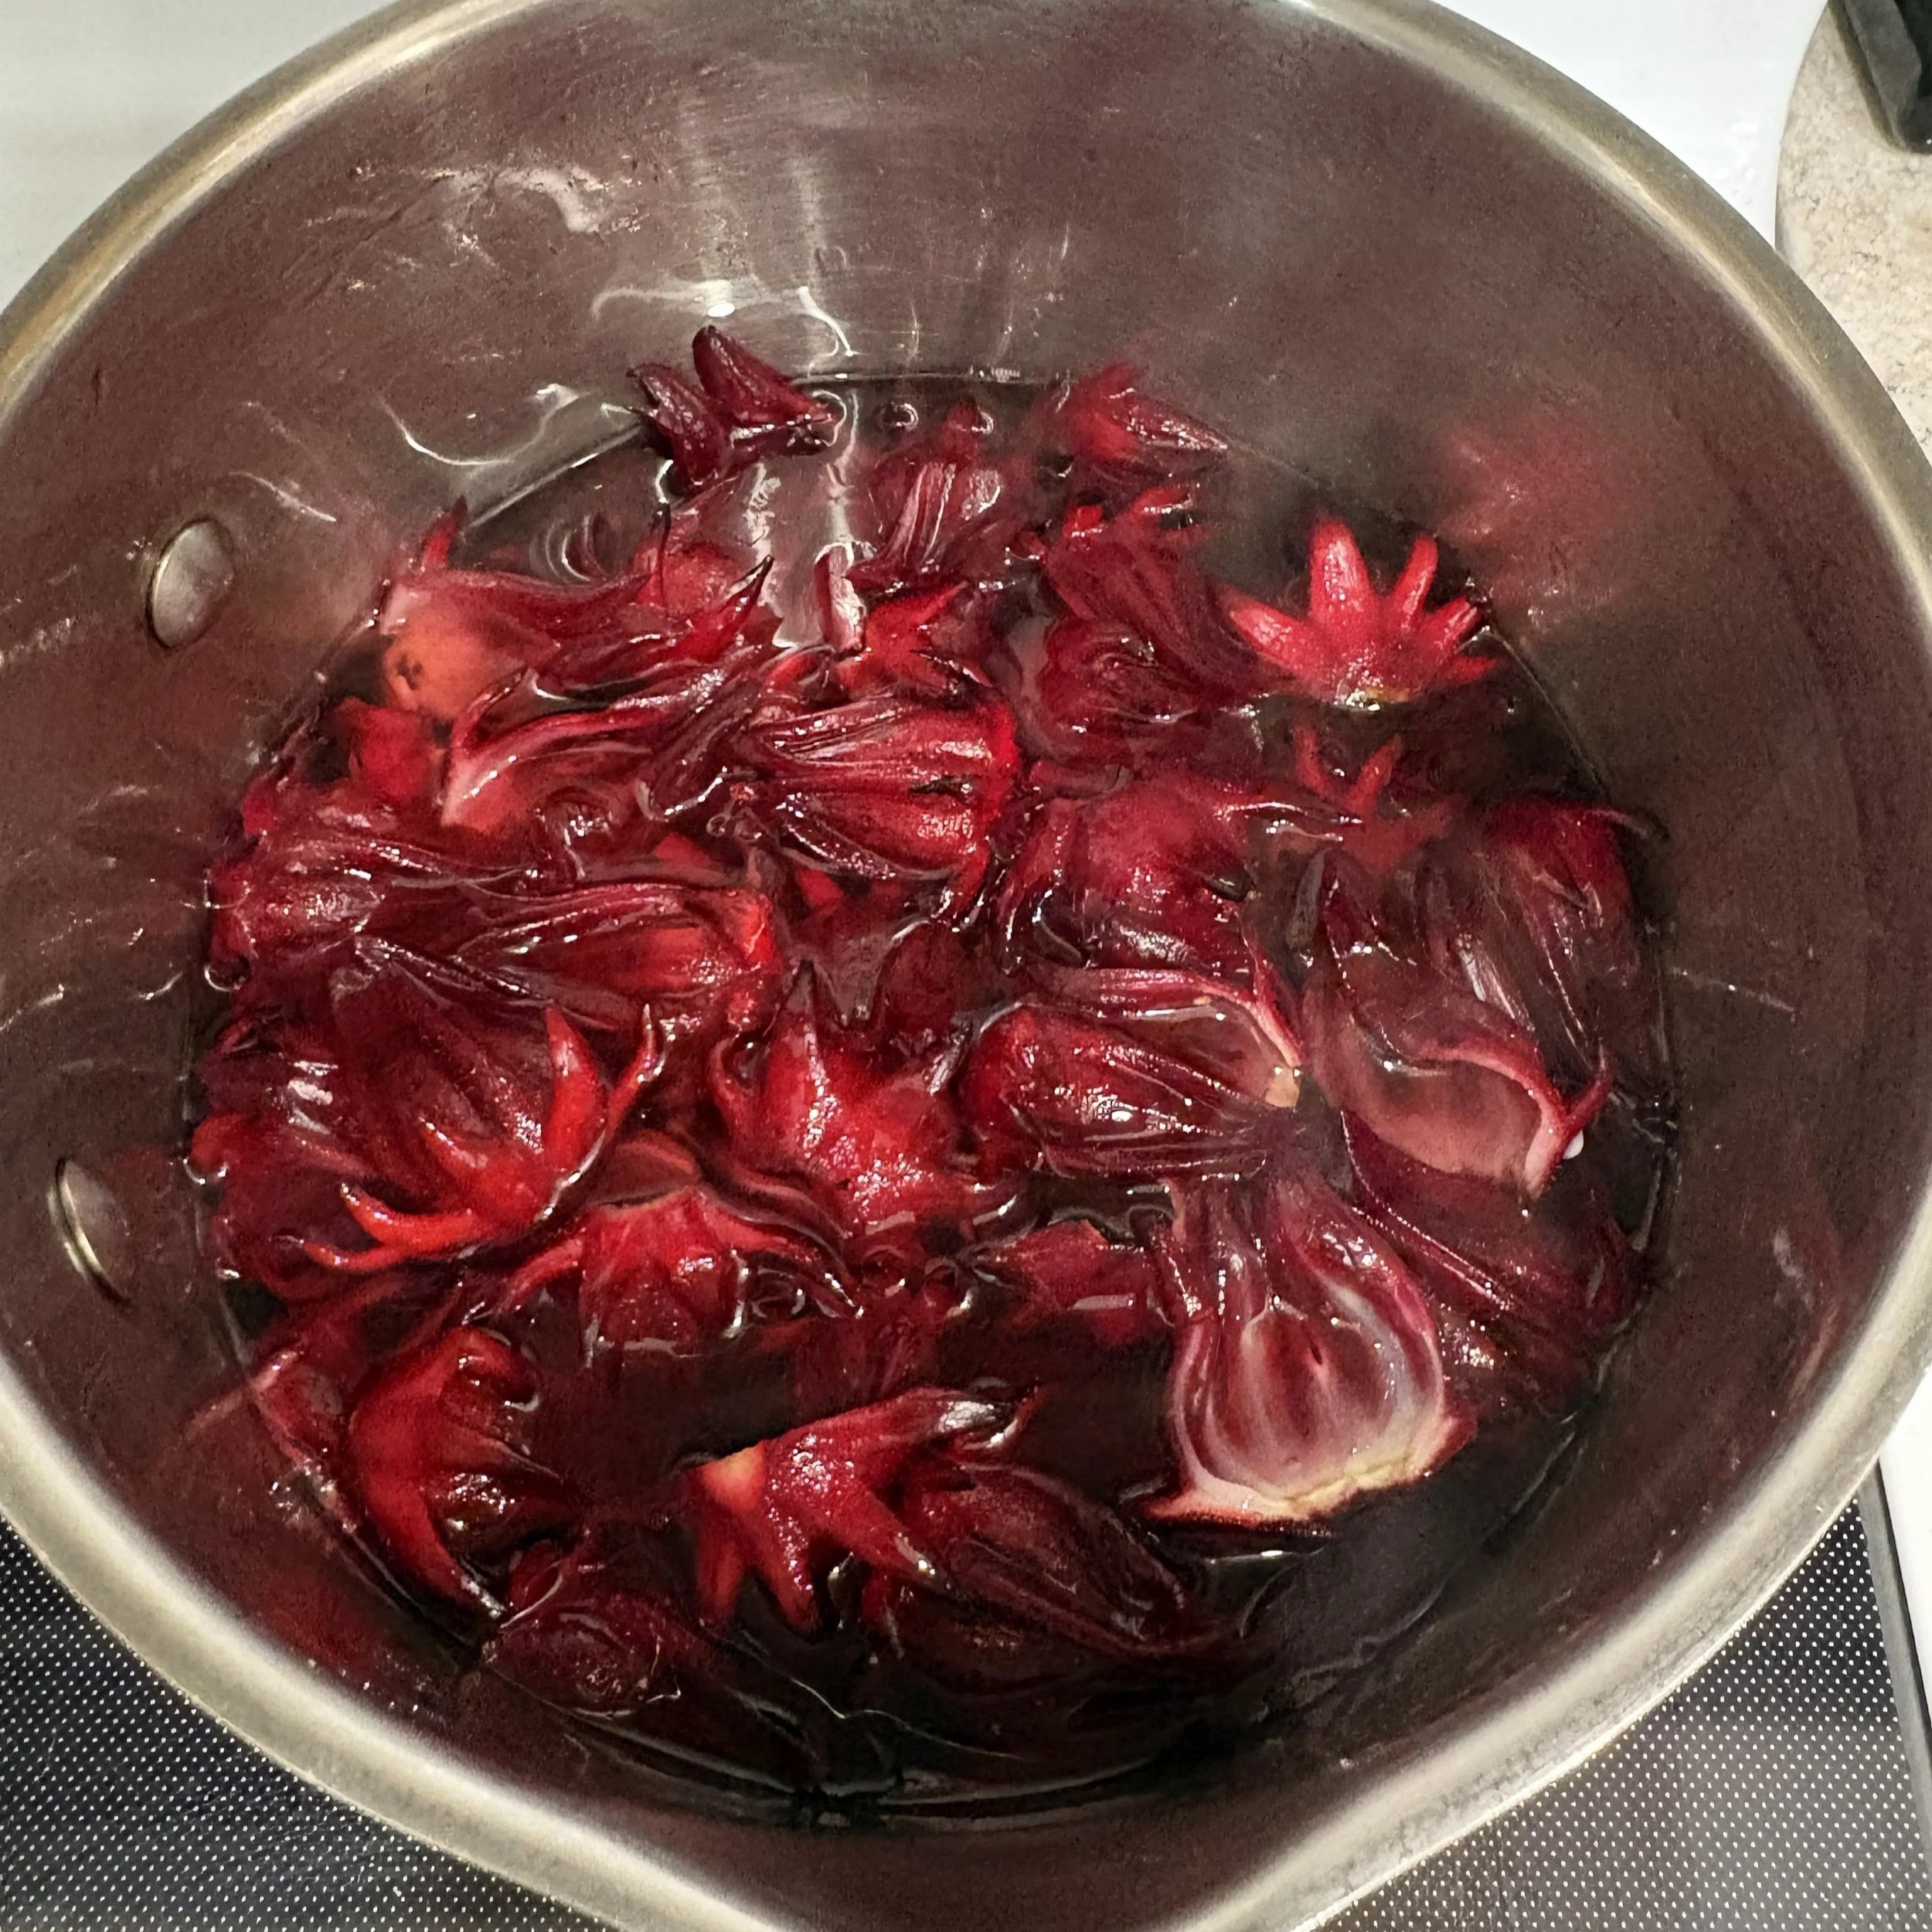
Poach the calyxes. Add the roselle halves to the simmering syrup and poach gently for approximately 2 minutes, or until they become slightly translucent. Remove from heat.
Prepare your drying rack. Lightly coat a wire baking rack with a small amount of neutral oil and place it over a parchment-lined baking sheet. I put a little oil on my fingers and rubbed it over the rack. A very small amount is all you need to keep the sugar syrup from sticking to the rack.
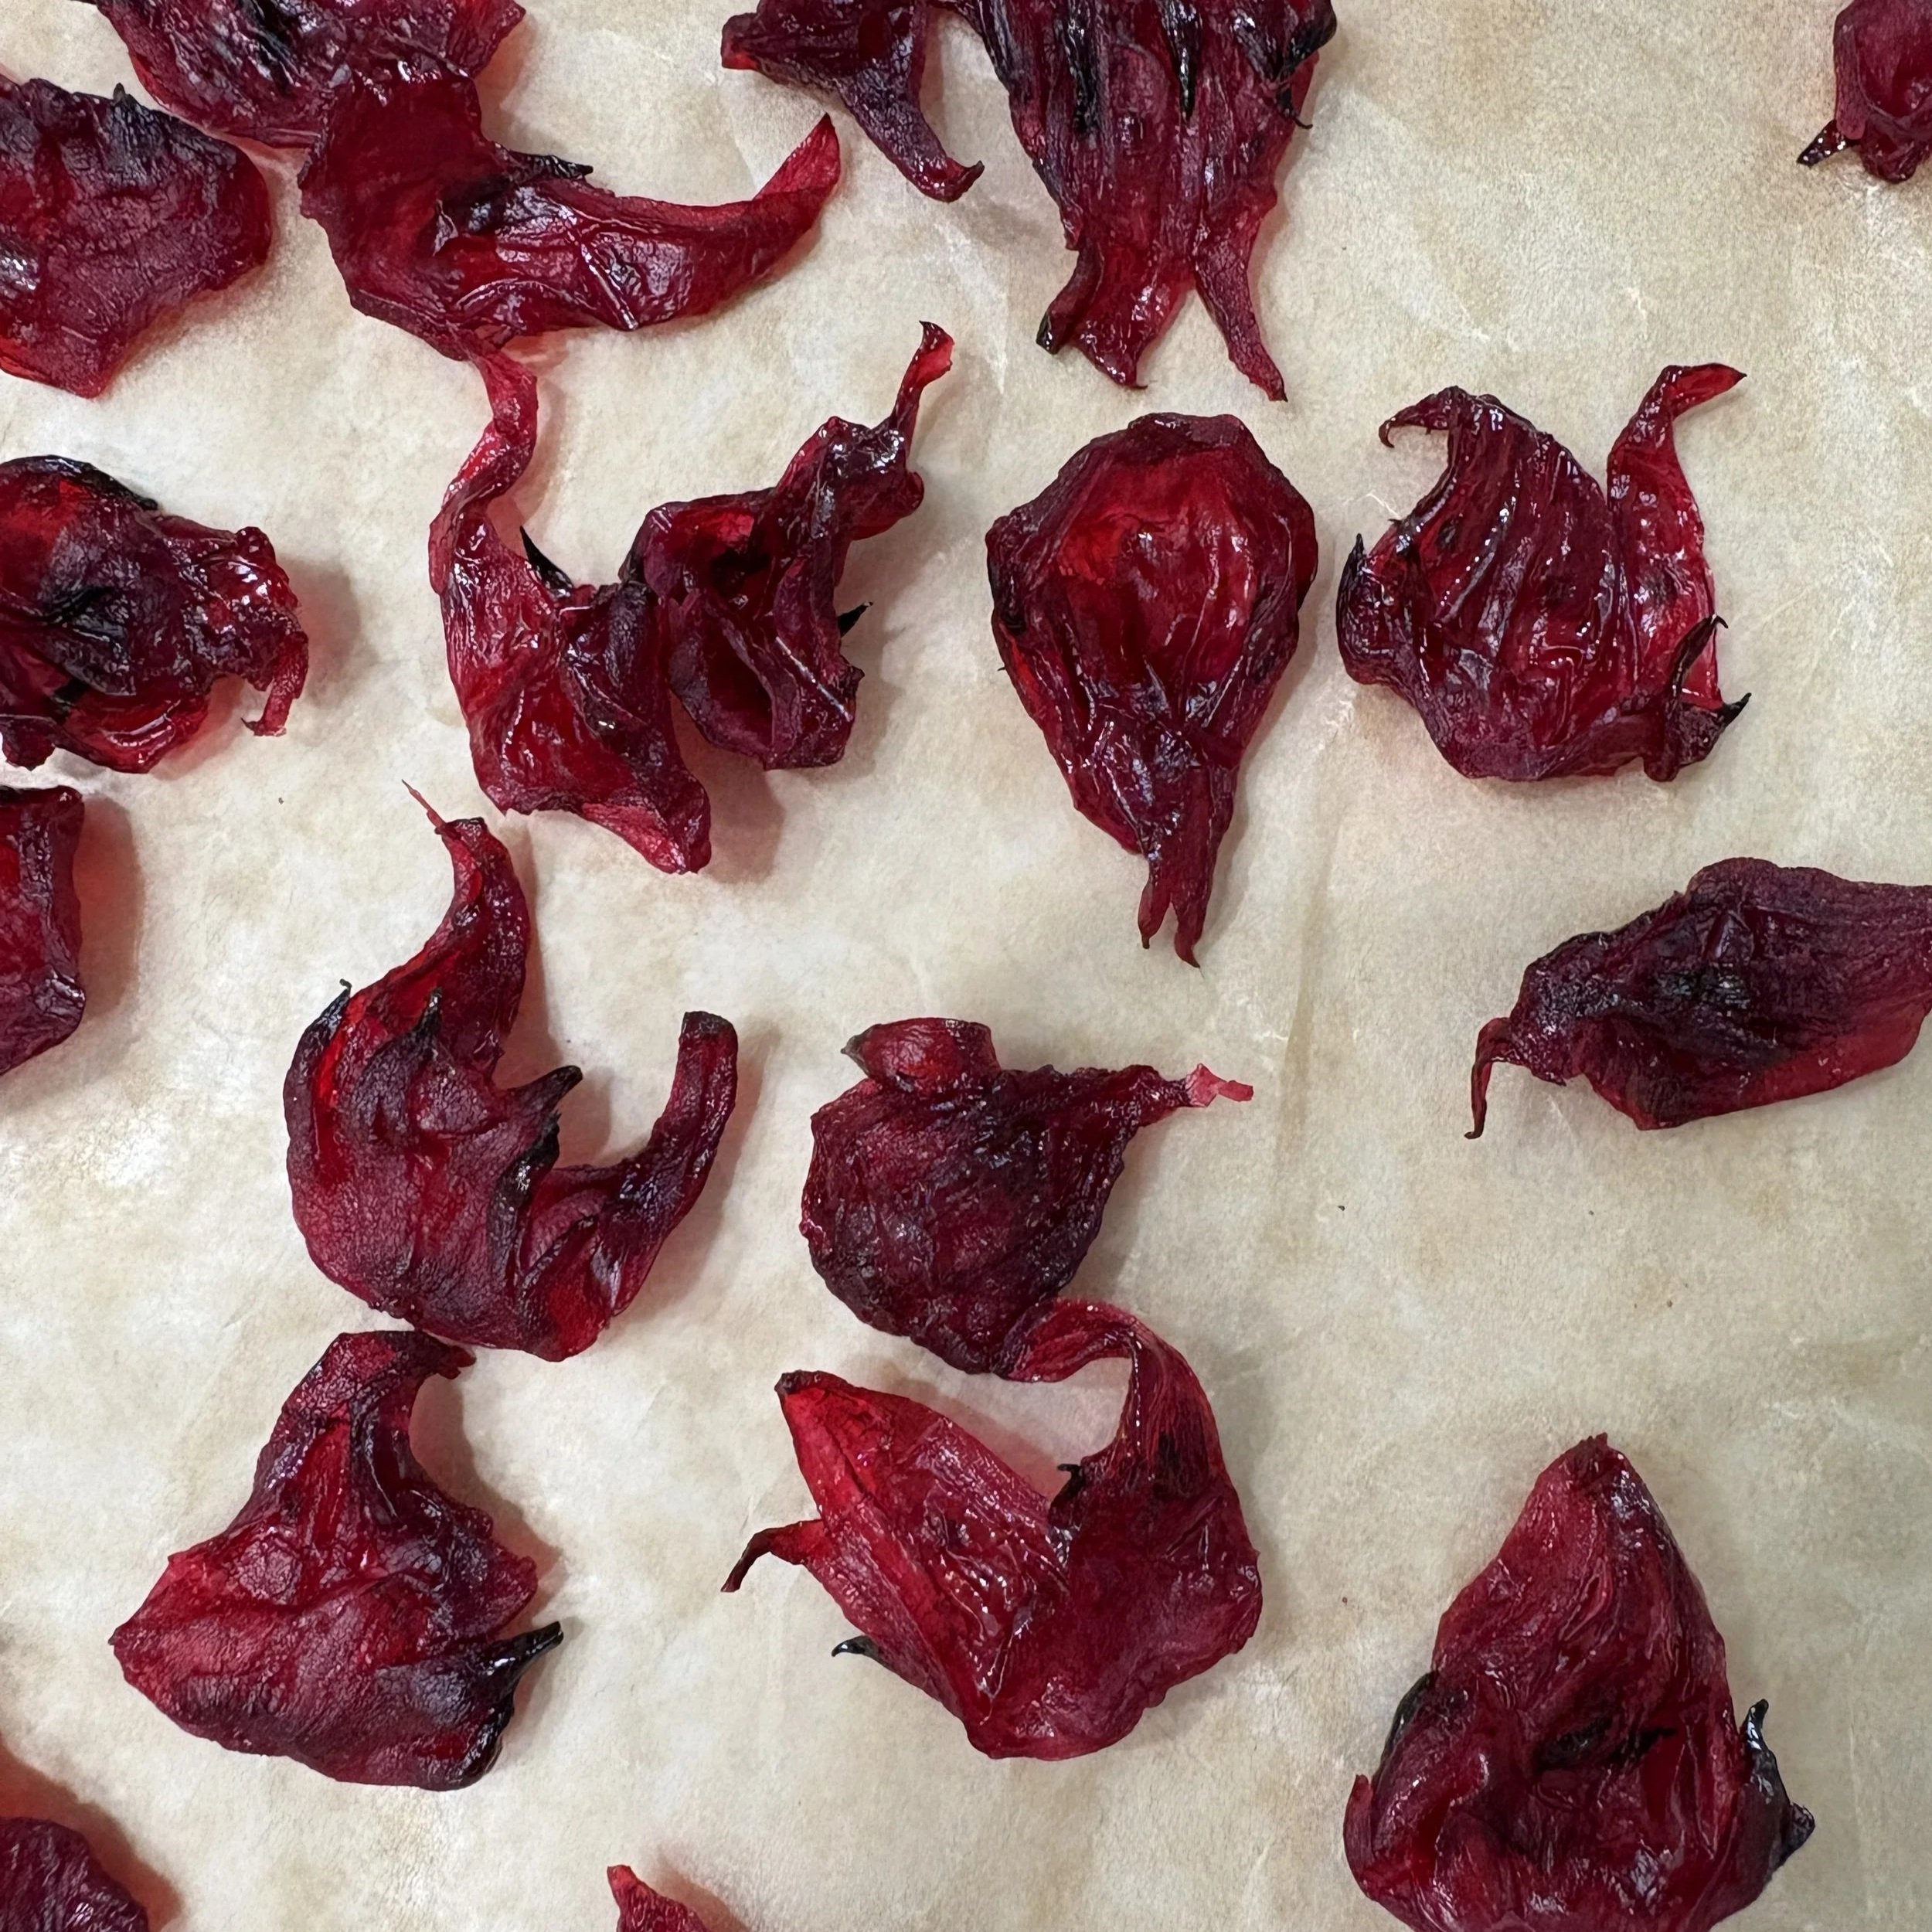
Arrange the roselle. Carefully remove the individual calyx pieces from the syrup and lay them on the rack in a single layer.
Let them dry. Allow the calyxes to air-dry for 24–48 hours, or until they're no longer tacky to the touch. Flip them once or twice during the process if you feel so inclined. Drying time will vary depending on humidity.
Store and enjoy. Once completely dry, store in an airtight container in a cool, dry place. Because homemade candied fruit can retain moisture, refrigerate for longer storage.
A little bonus: Save the bright red, hibiscus-flavored syrup! It makes a vibrant addition to sparkling water, mocktails, cocktails, iced teas, etc.
Beyond the kitchen, hibiscus sabdariffa has a long history of being used as a medicinal herb. It is a an excellent source of Vitamin C, and also contains calcium, iron, magnesium and potassium. It is loaded with anthocyanins (antioxidants that give roselle its deep red coloring) which have powerful anti-inflammatory and antibacterial properties. As a cardioprotective plant, it is said to help to lower blood pressure and reduce cholesterol levels. It is also condisered a liver and kidney tonic, acting as a natural diuretic.
Have you ever grown roselle hibiscus or experimented with it in the kitchen? I'd love to hear how you've used it!